Quality Installation
Windows Only maintains the highest installation standards, and we take great pride in the quality of our expert window installers. We are a Milgard Certified Replacement Specialist, Installation Masters Certified Installers, and A Trade Ally of the Energy Trust of Oregon. We meet and/or exceed the recommended installation techniques of each program, and offer a Lifetime Guarantee of our installation.
This means that your Portland window replacement will be executed properly, using the best possible installation techniques. This gives you the peace of mind of knowing that you will get a quality product that is properly installed – Guaranteed.
Anatomy of a Proper Installation
We feel strongly that consumers should make informed decisions. We encourage you to learn more about proper installation techniques, and be sure to ask the right questions when you consider your purchase. Below you will find an overview of both primary installation methods used by our window installers. Whomever you choose to install your replacement windows, please take the time to make sure they do the job correctly!

Cut In Installation
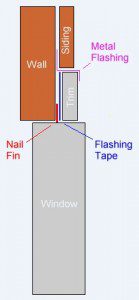
A “cut in” or nail fin installation is the most common and most recommended installation method when replacing old metal frame windows in most applications. It basically involves cutting back the exterior siding and interior surrounds, and installing exterior trim around the perimeter of the window. With rare exceptions, a proper cut-in installation should involve all of the following elements:
Cut back exterior siding: The siding is cut back around the old window to expose the nail fin, at the proper depth and pre-determined width to accommodate the new window and choice of exterior trim.
Remove and dispose of existing window: As an environmentally conscious company we take the time to separate and recycle the old materials.
Cut back interior surrounds: The interior surrounds are where the inside of your home meets your existing windows. Because your new window frames are better insulated and a little deeper than most of the old metal frames, the existing interior surround around the perimeter of the window needs to be cut back to accommodate the new window.
Clean contact surfaces and apply sealant: The area is cleaned to allow a tight fit and a proper seal. Sealant is applied to the surface that will make contact with the nail fin of the new window.
Seat, square, and fasten new window: The new window is set in place and squared to insure a properly functioning window. It is then securely fastened in place.
Apply flexible membrane flashing tape: This is a critical component of a quality installation; unfortunately skipped by many window installers. Applying flashing over the nail fins to the house is one of the critical steps for a water and airtight installation. This should be done using the weatherboard configuration.
Install metal header flashing: This is a thin piece of metal designed to redirect water running down from the siding above the window. It is installed under the siding and over the top of the top piece of trim. The only situation where it may be skipped is in the situation of an overhang directly above the window.
Install trim: We recommend flat trim installed in a weatherboard configuration. However some customers prefer the decorative look of Shake or Brick Mould trim. Decorative trim requires mitered corners. When using mitered corners it is essential that the cuts are precise, the ends to meet flush and are thoroughly caulked.
Apply caulking: An even bead of caulking should be applied around the perimeter of the window where the new window meets the trim, where the trim meets the siding, and where trim meets trim.

Stop In Installation:
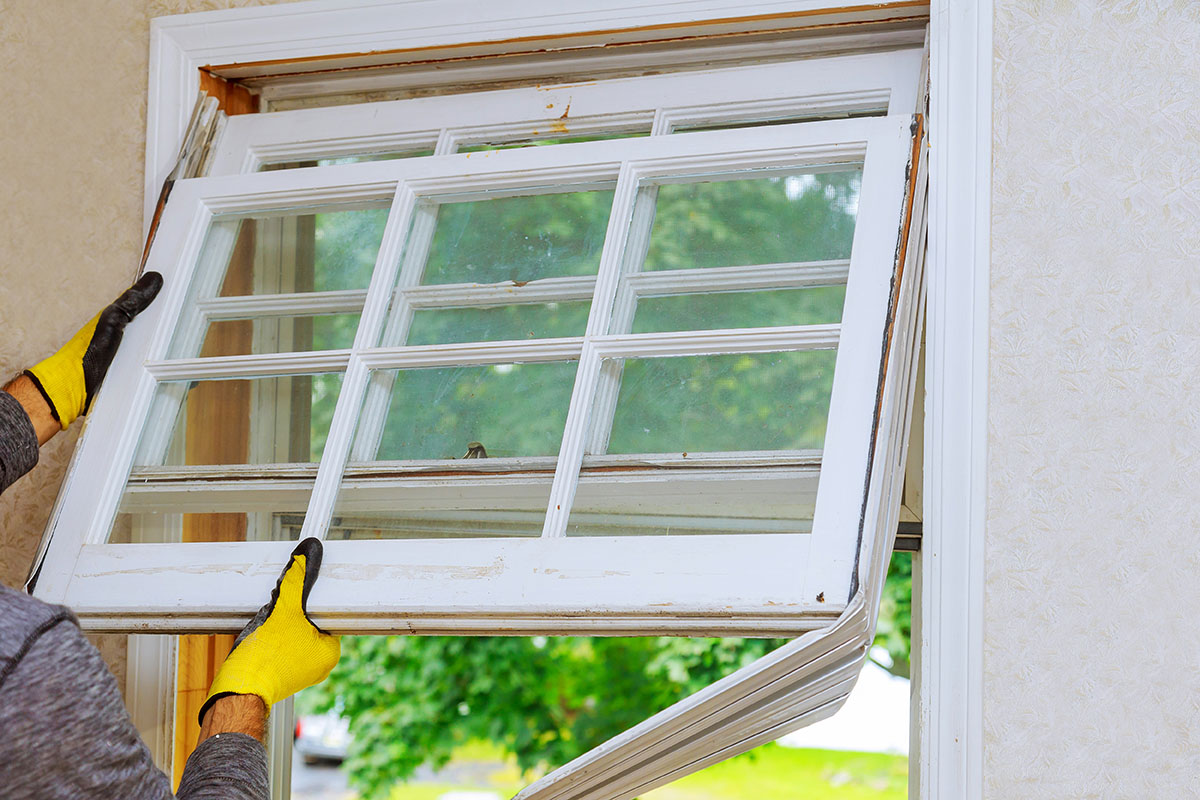
The “Stop In” installation is a method most commonly used when replacing your wood sash frame windows. It is a minimally invasive method that allows you to preserve the existing wood frame and trim moldings. The new windows are ordered to fit inside the existing framework, or pocket, after removing the old sashes. With rare exceptions, a proper stop-in installation should involve all of the following elements:
Remove interior stops: This is typically done from the interior side. The existing interior stops are scored and carefully removed to minimize paint chipping or peeling.
Remove existing window and sashes: The window is then removed. For operational windows the weights are disconnected, and the old window components are removed in the proper sequence.
Clean pocket and contact surfaces: Debris is swept out of the pocket area and the contact surface of the exterior stop is cleaned to assure a tight fit and a proper seal.
Seat, square, and fasten new window: The new window is set in place up against the exterior stop and squared to insure a properly functioning window. It is then securely fastened in place.
Install interior stops: The interior stops are replaced to “Stop In” your new window frame within the framed pocket and provide the finish trim along the sides of the new window to the existing moldings.
Install slope sill adapter: Most wood window frames have a sill that slopes downward to the exterior of the house. Because this creates a small open space between the bottom of the exterior window frame and the sill, it is important to install a slope sill adapter to take up this gap and weatherize the opening.
Apply caulking: An even bead of caulking should be applied around the perimeter of the window where the new window meets the exterior stop and where the slope sill adapter meets the sill.
Frequently asked questions:
What are your installation standards?
We install all windows and doors to recommended manufacturer standards and AAMA standards. This allows us to also apply our standard limited lifetime warranty on our installations.
Where can I read about your warranty?
You can read about or Limited Lifetime Warranty here. If you have an isssue that you believe falls under our warranty please see more information here and contact us.
What kinds of payments do you accept?
Windows Only accepts Cash, Checks, and all major credit cards. For inquiries about other forms of payment please contact us.
We also offer financing through Banner Bank and you can read more about that here.
